Tipping in balance
Subscribe
Pub
Share
Effective
Expert
Skiing
Technique
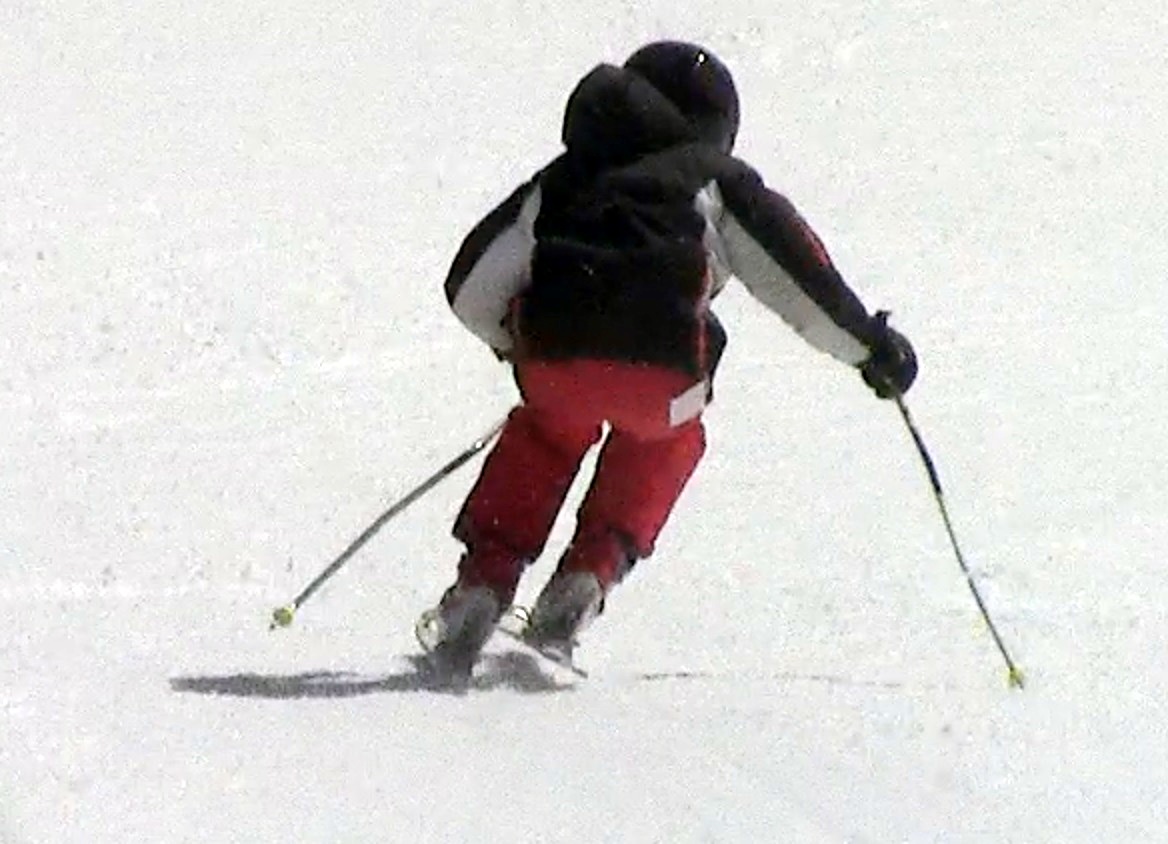
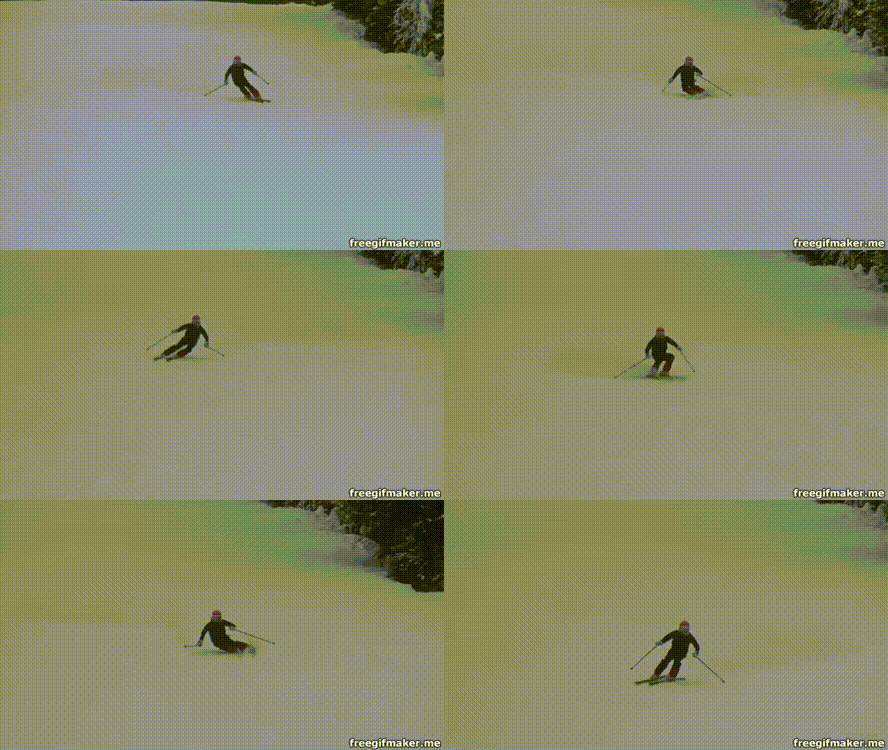
We don't turn the skis... rather, we make the skis turn, by tipping them on edge while staying in balance.
Ski Tech Talk
Tipping the skis on edge must start with the ankle, which everts/inverts inside the boot. The boot must allow this movement, otherwise you will have a lot of trouble tipping the skis properly.
Tipping and edging the skis is a continuous movement that disrupts balance throughout the turn - so we stay in dynamic balance via counterbalancing and counteracting these tendencies.
Staying in balance on the outside ski while it is being tipped on edge is critical, so tipping and balance on edge always go together.
One more thing. Tipping the outside ski is automatic - we need to focus on the inside ski more, to keep the shins parallel. Also, the inside ski is the stance master since the other one is generally locked in a carve or otherwise weighted - a recurring theme of modern performance skiing.
Stance, tipping and balance go together, see Stance and balance.
Drills and progression
Here's a sequence of drills to promote new movement patterns related to foot tipping, edging and balance.
-
braquage sliding sideways down the hill
- keep torso facing down the slope (separation)
- focus on controlling the uphill ski - i.e. weight should be mostly on the downhill ski while you drag the uphill ski, on edge, light on snow
- keep the shins parallel and the skis parallel
- focus on weight on the outside ski and manage speed by tipping and un-tipping
- progress to rolling on and off, to slide down and stop the slide and repeat
-
360 clickers
- from braquage progress to 360s
- while turning, focus on keeping the boots even (not shuffled) by pulling (keeping) back the inside boot
- also, progress to lifting the inside boot and touch (click) the heels
- the turning should be all done on the new downhill ski
- focus on shifting the weight continuously onto the new outside ski, controlling the new inside ski light on snow
- focus on the continuous tipping and untipping necessary to make these turns
- see Click your heels
-
stationary tipping
- tip the skis while standing still
- focus on keeping the shins parallel and both skis tipped the same (shins parallel)
- as you reach maximum tipping, use the upper body to allow even more angles
- first add angulation sideways to bend shoulders over the skis (crunch)
- then add separation by turning the torso to the outside and notice how it makes everything easy
- focus on balancing between the skis as they tip to 45 deg.
- progress to railed turns on a green
-
tuck turns/railed turns on green
- similar to the stationary tipping but this time while moving and turning
- squat, low position
- focus on tipping the skis on edge from the ankles
- let the skis turn by themselves as they're tipped, don't rush them
- use the upper body to allow more tipping for faster turning
- focus on keeping the shoulders facing down the hill as the lower body turns underneath
- progress to keep poles in the tuck position, handles forward: as the skis tip and you're turning to the right, twist the poles and entire torso the other way to exaggerate separation. Feel the effect this has onto the outside ski
-
phantom turns and mini Javelin turns on green
- phantom: lift the inside ski tail and pull the boot back and tip it on the inside
- mini-javelin: lift the inside ski and overlap the toes at a small angle, instead of the ski tips. Focus on tipping the inside ski so the inside knee points into the turn
- balance only on the outside ski
- focus on very deliberate tipping throughout the turn
- see The Phantom and The Javelin
-
garlands on green/blue
- while traversing across the slope, we tip to the uphill to engage the edges more and turn more
- then untip, or tip the other way, to reduce the turn and almost flatten the skis
- repeat 3-4 times per traverse, then turn around and do it the other way - while turning around, don't just cruise but try your biggest tipping and biggest angles yet!
Read more
Sessions:
- Start tipping
- Tipping not hipping
- Tipping and keeping the feet underneath
- About ankle eversion and inversion
- We ski with the feet and ankles
Related articles:
Lesson plans / drills:
See more in: carving-blog Subscribe You need to log in to post a comment!

