Ski boot setup
Pub
Share
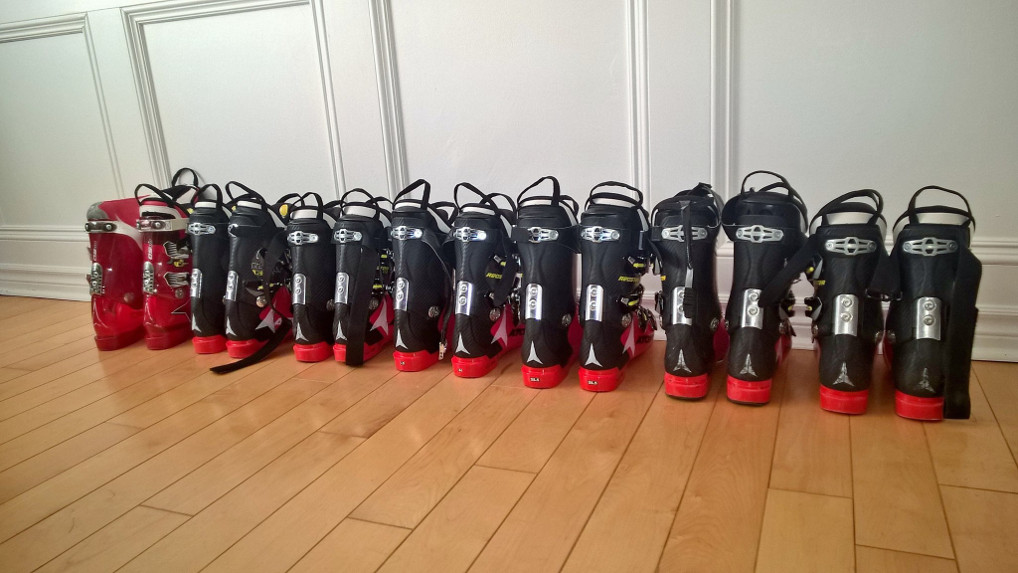
The boots are by far the most important piece of equipment you'll ever own. Ski boot setup is often thought of as an art and, although you will be assured of the contrary all the time, proper boot setup is not readily available in most shops.
While not an exhaustive resource by any means, let's go through the basics but also the more advanced issues around setting up the boots.
Ski boot setup includes:
- boot fitting
- lateral alignment and canting
- fore/aft alignment
- ... (keep reading)
There are many great resources1 and I strongly recommend you buy and own the books referenced in this article.
Make sure you ask around and find the best shops and fitters in your area and refer parents and racers to them as soon as you suspect something's off, based on the simple practical assessments below.
Boot fit
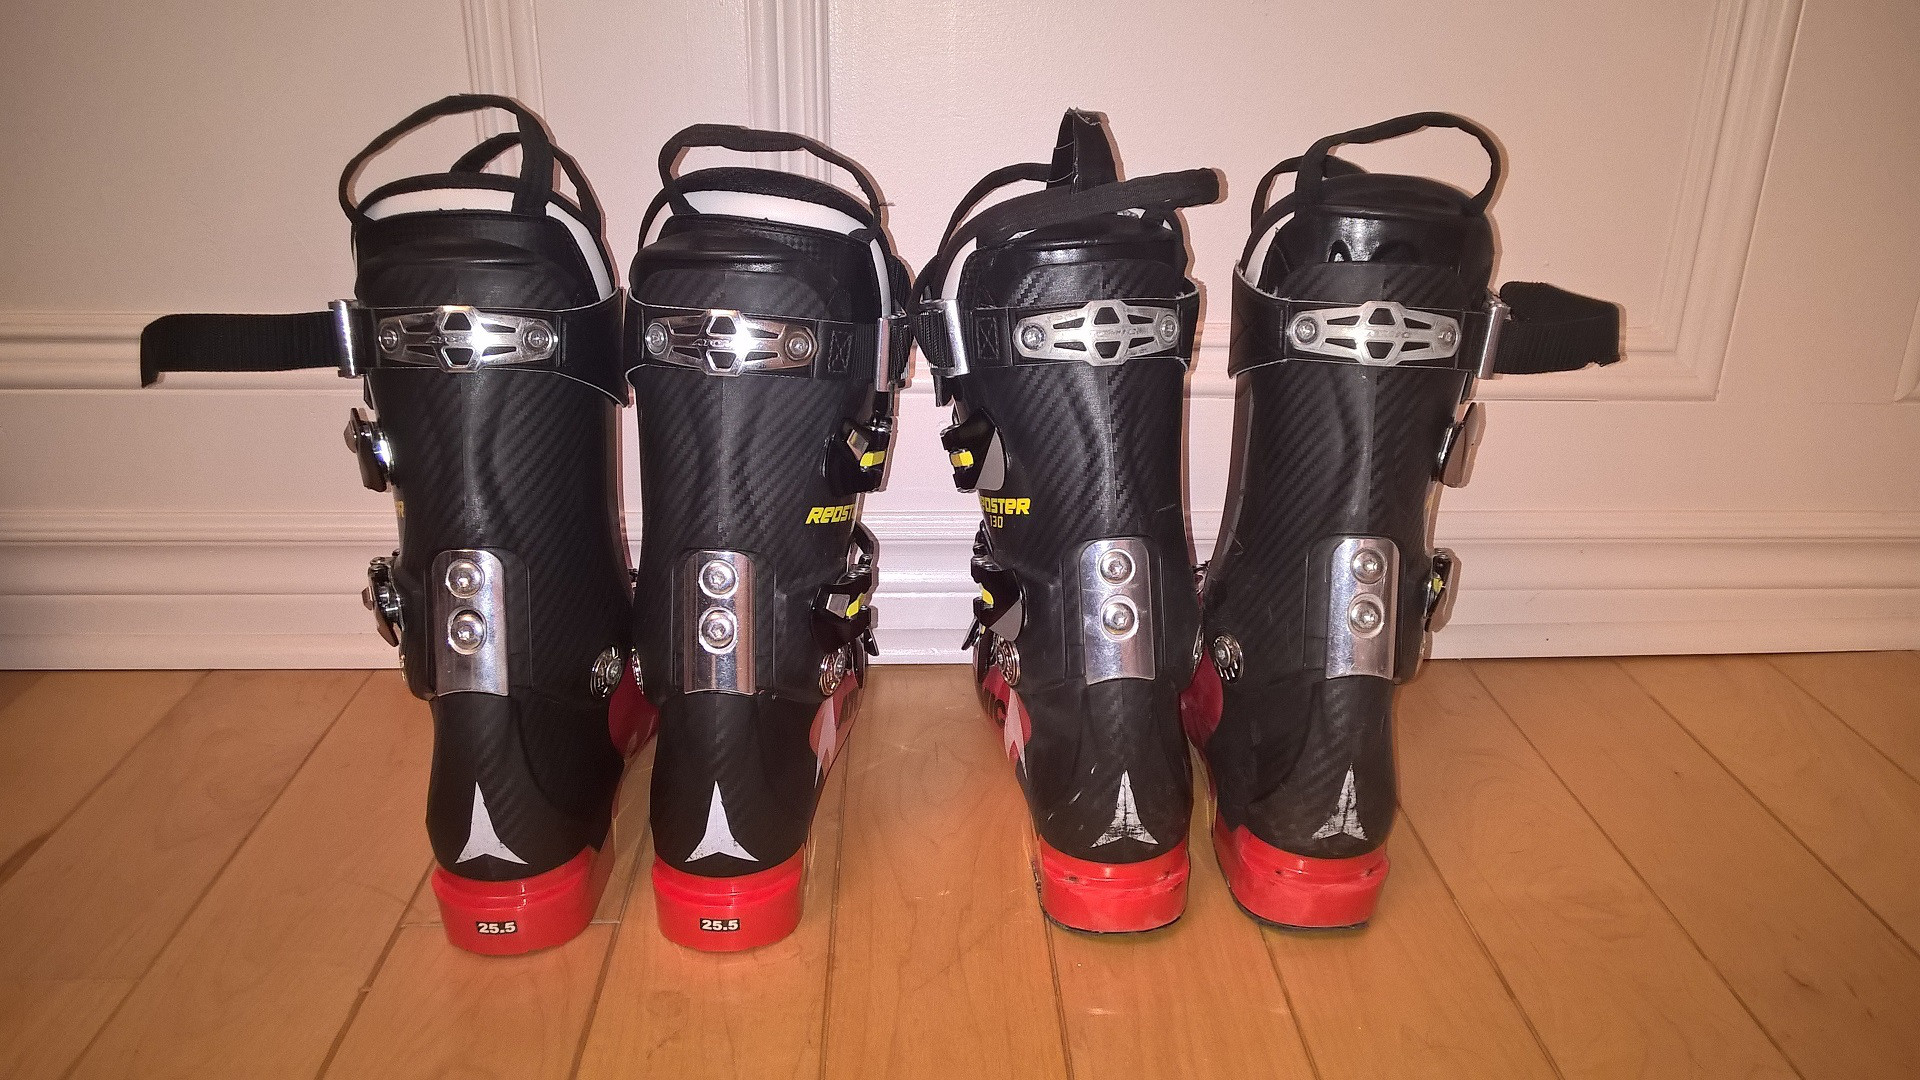
The ski boots should be professionally fitted. Not by a well-intended teenager in a Walmart, but a professional boot fitter.
The biggest mistake most people and untrained boot salesmen make is getting people boots that feel comfortable in the store: boots that are too large. All liners pack some during the first few days on snow, so a boot that feels comfy in the store will be way too large on the snow.
- take the liner out of the boot
- put the foot inside the shell and push it forward all the way
- how much room is there at the back? One finger or two fingers?
One finger is a good race fit while two fingers is a generous recreational fit. Anything more than two fingers means you need different boots! If you want to be more precise, use wooden dowels: 1/2 inch for racing, 3/4 inch for performance - however one issue with the wooden dowels is their inability to get into the heel pocket, so your mileage may vary. Eyeballing it is usually fine - more than one inch is going to be an issue, regardless of your ability level!
A big part of boot fitting is not just length though, but also foot shape, foot width, arch and footbeds, calf and shins etc. This is why it is a good idea to buy boots from a reputable ski shop... it will be more expensive, but it will make a difference!
Footbeds
Starting with U14, as the body takes shape and strength catches up with the skills, good footbeds may become a necessity. Some feet require footbeds more than others, but they are an item you need to consider. Starting at 50$ for some generic superfeet, they are not an expensive item and even a little goes a long way. You can spend as much as 200$ on one heat moulded set etc.
However... at the same time, footbeds are also very easy to fudge up by untrained salesmen. They'd certainly like to sell you the more expensive ones, but they're not always able to create the best for you. Stories of people skiing in pain and ending up paying well over one thousand dollars until the third footbed takes away the pain abound, unfortunately.
The most important function of a footbed is to support the feet enough while still allowing for sufficient movement and flexibility to complement the foot's movements.
One important issue, often overlooked, is to make sure the footbed will not cramp up the foot inside the boot. There should be enough room inside the boot for Inversion and eversion to influence tipping... otherwise you'll end up skiing with your knees or your hips and be forever impaired.
Question both the boot size and footbed construction.
Rear spoiler
The rear spoiler's role is to adapt the fit for the calf. Some skiers have a larger or lower calf while some have a higher or smaller calf - this is why you can adjust it up and down. The idea is to have the leg centered fore/aft so you can contact the back of the cuff without moving back too much. The spoiler is not for support or to modify the stance for "getting more forward".
It is however, a matter of personal shape and feel. Some even use two spoilers, while many use none.
Boot flex
Since it is generally denoted by a single number, the boot flex becomes a mesmerizing red herring for many.
Stiff plastic is not always the reason boots appear too stiff. The boots often appear too stiff because the muscular tension of the foot inside that boot is overly lax. USSA GS Technique and Tactics
The general opinion is that the boot should not restrict movement, but it is a lot more to it than that. See fore/aft setup below.
I have seen thin-build U14s that thrive on 120 flex boots and average-size U16s that ski 150 boots as well as U19s that can't make a 70 flex boot work. It is all a matter of matching the boot flex to the boot setup, body build and ski technique.
Lateral alignment and canting
Lateral alignment of the boots makes a big difference in edging and balance.
Cuff alignment
The first thing to do is to align the cuffs - using the rivets that connect the cuff (most boots have this, especially race boots). The idea is simple: the cuff must follow the shape of the lower leg, thus the leg must be centred between the two sides of the cuff.
Then you could use the rivets to tilt the cuff this way and that way until the leg is centred inside the cuff. If the boot doesn't have rivets, you can find adjusting kits often. If not, take it to a good shop, see what they can do.
Here's a good presentation on cuff alignment:
Canting
Next step is to cant the boot. Some cant inside the boot, some under the boot and some put wedges under the bindings. Each has its own use. The best is canting under the boot (as you can swap skis easily).
First is simple static canting done in a shop. The idea is to align the knee, so that the center of the knee falls onto the center of the boot sole (not that of the foot) or slightly inside. When done right, that can get canting within 80% precision.
After that, on-snow sessions are required to fine-tune canting. There is a series of on-snow simple tests that you can do to detect canting issues3.
Then do four traverses on a blue run, one on each edge. Does the skier look out of balance? Read more in the referenced book.
What if you over do it? Most common signs of over-canting are lacking angulation or a wobble. Most common sign of under-canting are an excessive knee drive or knee angulation.
Setup fore/aft
A boot may appear to be too stiff if it's not setup properly fore/aft2. Some of the fore/aft adjustments include flex, cuff height, forward lean angle, delta angle, heel height and all these factors contribute and interact to either help a skier or massively impair a skier.
In a properly setup boot, you should not have an issue being forward and supported by the boot, without having to bend the plastic of the boot.
The angle at which the shin exits the boot at rest is the most important, a result of boot setup (cuff, heel, footbed). The boot should allow the knee to roughly be on top of or towards the toes, without bending the plastic. If one has to bend the plastic to be in balance, then he/she will have to choose boots that are too soft otherwise.
More resources:
Cuff height
A cuff that is too tall may restrict movement too much and impair fore/aft balance. A cuff that is lower, allows more leverage for bending the boot - allows better absorption of terrain that way, among others. As everywhere else, there is a compromise between range of movement and support / leverage.
See more below under "cuff too tall".
A taller person may want a high cuff and a shorter person may enjoy more a lower cuff - some boot models in fact come in a LC or "low cuff" version.
Not necessarily related to cuff height - you may have to grind the front bottom of the cuff, to allow unrestricted movement. Some boots, especially for the smaller sizes (25 and down) have an issue where the bottom of the cuff hits the boot and restricts forward bending of the cuff.
Forward lean angle
Race boots generally have more forward lean than recreational boots.
Forward lean angle is related to the balance needs. If a skier has a lot of vertical movement (as in flexing a lot) then more forward lean is needed in the boot, to accommodate the range of motion. Otherwise, the shin will hit the cuff and the skier will move back, out of balance.
A bigger forward lean angle will allow a skier to get forward more easily, but care must be taken as it's easy to overdo this. Also, a bigger forward lean will allow a greater ankle flex, which is also good for allowing a better range of motion for tipping.
Delta and heel height
These can be adjusted for a better balance fore/aft. Different boots are manufactured with different delta angles (the difference between heel and toes) and heel height.
Have a boot fitter or coach adjust these - one thing to remember is that too much delta angle can conversely put the skier back. The heel height can be increased with wedges and lowered by grinding the boot board.
Issues with the boot setup
Too large / too tight
A boot that is too large will not allow the subtle foot movements to influence the skis and will result in A-frame and hip dumps.
A boot that is too tight will not permit the subtle foot movements required and/or will not allow sufficient range of movement to build sufficient leverage to influence the skis.
Pay attention to the footbeds, when evaluating the room inside boot. Often, a different footbed will make just enough room inside a tight boot. Trimming the foot beds slightly also contributes to making more room.
Cuff too tall / boot too stiff
A boot cuff that is too tall or too stiff or too snug against the shin will not allow proper fore-aft movement and balance. It may cause the skier to ski back, to struggle out of balance all the time or do weird movement sequences trying to avoid the top of the boot and bring the shins forward.
It is important that the boot cuff is setup so that the shins are allowed to move forward as much as needed for the skier to be forward without a lot of effort. Once forward, the boot should be stiff enough to support the skier in that forward position and that is also related to how strong the skier is, technically.
Flex issue #1
Some boots require a bit of adjustment to allow them to flex better. This is especially common with smaller boot sizes.
This following video shows this particular mod:
Other adjustments and notes
Some liners allow the tongue to move up/down to match the shape of the foot, the instep.
For racing, some would adjust the boots for the conditions, for instance canting a little stronger for aggressive snow versus softer snow.
When setting up the cuff for fore/aft and length: an aggressive forward lean / short cuff may bring the hips lower to the ground, so care must be taken to not limit any range of motion.
See also:
- Using the boots
- Understanding ski boots
- Ski boot cuff alignment
- Ski Boot Flex - what is it for
- Ski boot setup - overview for coaches
- Setup boots for fore-aft
More resources:
- The Athletic Skier, p19-65 1
- video 2
- Anyone can be an expert skier 2, Chapter 2 3
- Alignment Technician Course Manual
- article
- interview
- Foot and ski boot alignment isn't an accessary you can "afford" to ignore
By: Razie | 2015-10-15 .. 2025-02-13 | Tags: wiki , biomechanics , equipment , boots , todo , fore-aft